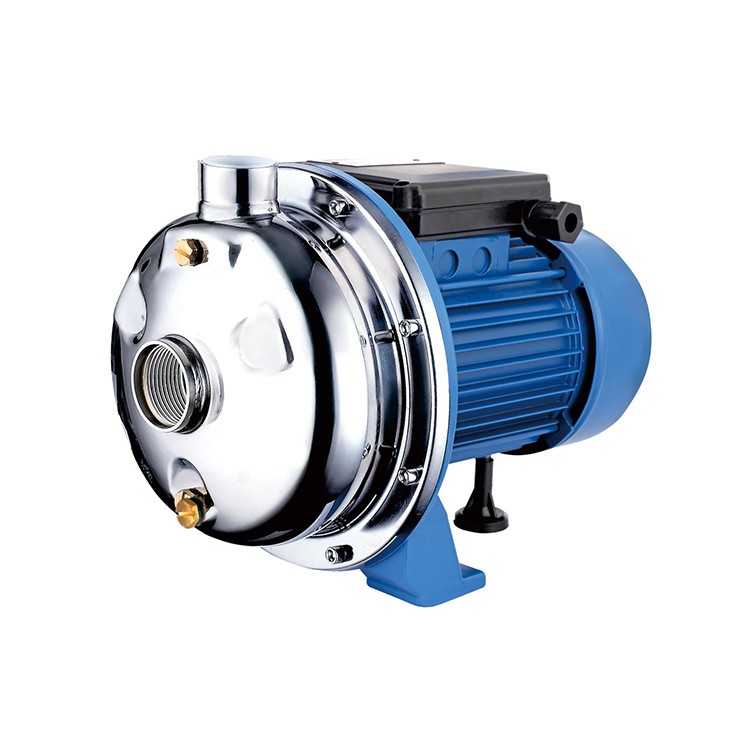
As a trusted supplier of Centrifugal Pump Mini, I understand the critical importance of proper motor and pump alignment in these compact yet powerful devices. Misalignment can lead to a host of problems, including premature wear and tear, increased energy consumption, and even system failure. In this blog post, I'll share some practical tips on how to check the alignment of the motor and pump in a Centrifugal Pump Mini, ensuring optimal performance and longevity.
Why Alignment Matters
Before delving into the alignment checking process, it's essential to understand why proper alignment is so crucial. In a Centrifugal Pump Mini, the motor and pump are connected by a coupling, which transfers power from the motor to the pump. When the motor and pump are misaligned, the coupling experiences additional stress, leading to uneven wear and potential damage. This can result in reduced efficiency, increased vibration, and noise, and ultimately, costly repairs or replacements.
Moreover, misalignment can also cause excessive load on the bearings, seals, and other components of the pump, leading to premature failure. By ensuring proper alignment, you can minimize these risks and extend the lifespan of your Centrifugal Pump Mini, saving you time and money in the long run.
Tools Required
To check the alignment of the motor and pump in a Centrifugal Pump Mini, you'll need the following tools:

- Dial indicators: These are used to measure the relative position of the motor and pump shafts.
- Straightedge: A straightedge can be used to check for visual alignment between the motor and pump.
- Shims: Shims are thin pieces of material that can be used to adjust the position of the motor or pump to achieve proper alignment.
- Torque wrench: A torque wrench is used to ensure that the bolts holding the motor and pump in place are tightened to the correct specification.
Step-by-Step Alignment Checking Process
Now that you have the necessary tools, let's walk through the step-by-step process of checking the alignment of the motor and pump in a Centrifugal Pump Mini:
Step 1: Prepare the Pump and Motor
Before you begin the alignment process, make sure the pump and motor are clean and free of any debris or dirt. Check the coupling for any signs of damage or wear, and replace it if necessary. Also, ensure that the pump and motor are securely mounted to their respective bases.
Step 2: Visual Inspection
Start by visually inspecting the motor and pump for any obvious signs of misalignment. Use a straightedge to check if the motor and pump are in a straight line. If you notice any significant deviations, you may need to make some initial adjustments before proceeding with the more precise alignment checks.
Step 3: Mount the Dial Indicators
Next, mount the dial indicators on the motor and pump shafts. The dial indicators should be positioned perpendicular to the shafts and should be able to measure both radial and axial movement. Make sure the indicators are securely attached and that the measuring tips are in contact with the shafts.
Step 4: Take Initial Readings
Once the dial indicators are mounted, take initial readings to establish a baseline. Rotate the shafts slowly and evenly through a full 360-degree rotation, taking readings at regular intervals. Record the readings for both the radial and axial measurements.
Step 5: Analyze the Readings
After taking the initial readings, analyze the data to determine the extent of the misalignment. Compare the readings to the manufacturer's specifications for the Centrifugal Pump Mini. If the readings are within the acceptable range, the alignment is likely to be satisfactory. However, if the readings exceed the specifications, adjustments will be necessary.
Step 6: Make Adjustments
Based on the analysis of the readings, make the necessary adjustments to the motor or pump to correct the misalignment. This may involve adding or removing shims under the motor or pump feet to adjust the height or position. Use a torque wrench to tighten the bolts holding the motor and pump in place after making the adjustments.
Step 7: Recheck the Alignment
After making the adjustments, recheck the alignment using the dial indicators. Take new readings and compare them to the manufacturer's specifications. Repeat the adjustment process if necessary until the alignment is within the acceptable range.
Step 8: Final Checks
Once the alignment is satisfactory, perform some final checks to ensure that everything is in order. Check the coupling for proper tension and alignment, and make sure that all the bolts are tightened to the correct specification. Also, run the Centrifugal Pump Mini for a short period to check for any abnormal vibrations or noise.
Common Alignment Issues and Solutions
While checking the alignment of the motor and pump in a Centrifugal Pump Mini, you may encounter some common alignment issues. Here are some of the most common issues and their solutions:
Radial Misalignment
Radial misalignment occurs when the motor and pump shafts are not in the same straight line. This can be caused by improper installation, wear and tear, or thermal expansion. To correct radial misalignment, adjust the position of the motor or pump using shims.
Axial Misalignment
Axial misalignment occurs when the motor and pump shafts are not parallel to each other. This can be caused by uneven mounting surfaces or improper coupling installation. To correct axial misalignment, adjust the position of the motor or pump using shims or by realigning the coupling.
Angular Misalignment
Angular misalignment occurs when the motor and pump shafts are at an angle to each other. This can be caused by improper installation or wear and tear. To correct angular misalignment, adjust the position of the motor or pump using shims or by realigning the coupling.
Conclusion
Proper alignment of the motor and pump is essential for the optimal performance and longevity of a Centrifugal Pump Mini. By following the steps outlined in this blog post and using the right tools, you can easily check and correct the alignment of your pump and motor. Remember to regularly inspect and maintain your Centrifugal Pump Mini to ensure that it continues to operate efficiently and reliably.
If you're in the market for a high-quality Centrifugal Pump Mini, we're here to help. We offer a wide range of Centrifugal Pump Mini options, including Centrifugal Pump for Hot Water and Centrifugal Transfer Pump. Our pumps are designed to meet the highest standards of quality and performance, and we're committed to providing excellent customer service.
Contact us today to learn more about our products and how we can help you find the right Centrifugal Pump Mini for your needs. We look forward to working with you!
References
- Manufacturer's manuals for Centrifugal Pump Mini
- Industry standards and best practices for pump alignment