Hey there! I'm a supplier of solar surface water pumps, and I'm super excited to walk you through the process of installing one. Whether you're looking to water your garden, supply water to a small farm, or meet other water - related needs, a solar surface water pump is a great, eco - friendly solution.
1. Understanding Your Solar Surface Water Pump
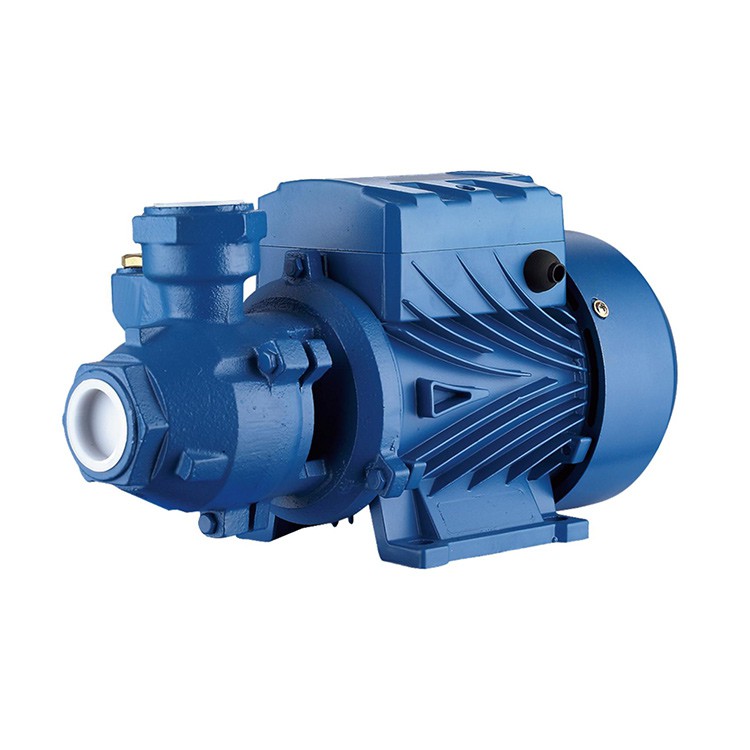
Before you start the installation, it's crucial to understand the type of solar surface water pump you've got. There are mainly three types: Solar Peripheral Pumps, Solar Jet Pumps, and Solar Centrifugal Pumps.
Solar peripheral pumps are usually used for small - scale applications. They're great for pumping water from a shallow source, like a small pond or a rainwater tank, to your garden. Solar jet pumps, on the other hand, can handle a bit more pressure and are suitable for applications where you need to pump water to a higher elevation or over a longer distance. Solar centrifugal pumps are powerful and can move large volumes of water quickly. They're often used in agricultural settings or for large - scale water supply.
2. Pre - installation Checks
Site Selection
First things first, you need to pick the right spot for your pump. The pump should be installed on a flat, stable surface. It needs to be close to the water source to minimize the length of the suction pipe. Also, make sure the area around the pump is well - ventilated, as the pump can generate some heat during operation.
The solar panels, which are the power source for the pump, should be installed in a location that gets plenty of sunlight throughout the day. Avoid places with shading from trees, buildings, or other obstacles. A south - facing (in the Northern Hemisphere) or north - facing (in the Southern Hemisphere) orientation usually works best.
Water Source Inspection
Check the water source to ensure it's clean and free from debris. If there are a lot of leaves, twigs, or other large particles in the water, you might need to install a pre - filter at the intake of the suction pipe. This will prevent the pump from getting clogged and ensure its long - term performance.
Equipment Inspection
Before you start the installation, take a good look at all the components of the pump system. Check the pump itself for any visible damage, like cracks or loose parts. Inspect the solar panels for any scratches or defects. Also, make sure you have all the necessary accessories, such as pipes, connectors, and mounting brackets.
3. Installing the Solar Panels
Mounting the Panels
Most solar panels come with mounting brackets. First, attach the brackets to the solar panels according to the manufacturer's instructions. Then, use bolts or screws to mount the panels on the chosen location. Make sure the panels are securely fixed and level. You can use a spirit level to check if they're horizontal.
Wiring the Panels
Once the panels are mounted, it's time to wire them up. Connect the positive and negative terminals of the solar panels in series or parallel, depending on the requirements of your pump system. Usually, the manufacturer's manual will tell you which configuration to use. Use high - quality, weather - resistant cables for the wiring. Make sure all the connections are tight and insulated to prevent any electrical shorts.
4. Installing the Pump
Mounting the Pump
Place the pump on the pre - selected flat surface. Use the mounting holes on the pump base and secure it with bolts or screws. Make sure the pump is level and stable. If the pump vibrates too much during operation, it can cause damage to the pump and the surrounding components.
Connecting the Suction Pipe
Connect one end of the suction pipe to the intake of the pump. Use a suitable connector, like a hose clamp, to ensure a tight seal. The other end of the suction pipe should be placed in the water source. Make sure the end of the pipe is submerged deep enough in the water to prevent air from being sucked into the pump. You can attach a weight or a strainer to the end of the pipe to keep it in place and filter out large particles.
Connecting the Discharge Pipe
Connect the discharge pipe to the outlet of the pump. Again, use a proper connector and make sure the connection is leak - free. The discharge pipe will carry the water from the pump to the desired location, like your garden or a storage tank. You can use elbows and tees to direct the flow of water as needed.
5. Electrical Connection
Connecting the Pump to the Solar Panels
Use the appropriate cables to connect the pump to the solar panels. Make sure to connect the positive and negative terminals correctly. The pump should have a clear marking for the positive and negative connections. Double - check the connections to avoid any electrical issues.
Installing a Controller (if applicable)
Some pump systems come with a controller. The controller helps to regulate the power supply from the solar panels to the pump. If your system has a controller, install it according to the manufacturer's instructions. Connect the controller between the solar panels and the pump.
6. Testing the System
Priming the Pump
Before you start the pump, you might need to prime it. Priming is the process of filling the pump with water to remove any air. Most pumps have a priming port. Remove the cap from the priming port and pour water into it until the pump is filled. Replace the cap tightly.
Starting the Pump
Once the pump is primed, turn on the system. The pump should start working as soon as the solar panels receive enough sunlight. Check the flow of water at the discharge end. If there's no water flow or the flow is very weak, there might be an issue with the installation. Check the connections, the suction pipe for blockages, and the solar panel output.
Monitoring the System
Let the pump run for a while and monitor its performance. Check for any leaks around the pump and the pipes. Listen for any unusual noises, like grinding or rattling, which could indicate a problem with the pump. Also, keep an eye on the water pressure and flow rate to make sure they're within the expected range.
7. Maintenance Tips
Regular Cleaning
Regularly clean the solar panels to remove dust, dirt, and other debris. You can use a soft cloth and some mild detergent to clean the panels. Make sure to turn off the power supply before cleaning the panels. Also, clean the pre - filter at the intake of the suction pipe to prevent clogging.
Inspection
Periodically inspect the pump and all the components of the system. Check for any signs of wear and tear, like loose connections, corroded parts, or leaks. Replace any damaged components as soon as possible to avoid further problems.
Lubrication
Some pumps require lubrication to ensure smooth operation. Check the manufacturer's manual to see if your pump needs lubrication and what type of lubricant to use. Follow the recommended lubrication schedule to keep the pump in good condition.
8. Troubleshooting
No Water Flow
If there's no water flow, first check if the pump is primed correctly. Make sure the suction pipe is not clogged and is submerged deep enough in the water. Also, check the electrical connections to ensure the pump is getting power from the solar panels.
Low Water Pressure
Low water pressure could be due to a blockage in the pipes, a worn - out pump impeller, or insufficient sunlight. Check the pipes for any kinks or blockages. If the pump impeller is damaged, it might need to be replaced. Make sure the solar panels are getting enough sunlight and the wiring is correct.
Unusual Noises
Unusual noises from the pump could indicate a mechanical problem, like a loose bearing or a damaged impeller. Stop the pump immediately and check for any visible damage. If you're not sure what the problem is, it's best to contact a professional technician.

Contact for Purchase and Consultation
If you're interested in purchasing a solar surface water pump or have any questions about the installation process, feel free to reach out. I'm here to help you choose the right pump for your needs and provide you with all the support you need during the installation and maintenance.
References
- Manufacturer's manuals of solar surface water pumps
- Industry standards and guidelines for solar pump installation
That's all for today's blog. I hope this guide has been helpful to you. If you have any more questions, just leave a comment below!